Member-only story
Using mask culling & visibility layers (Godot 4/C#)
Let’s see how to optimise our games with bitmasks and culling!

Rendering objects is one of the core systems in any game engine. But, over the years, game engine creators have boosted this base functionality with various options, to give users more control over the rendering of their games.
And, in particular, a very common trick that is available in most game creation software, Godot included, is the notion of visibility layers.
So, today, we’re going to see why this tool is interesting, how to set specific visibility layers for our nodes via both the Inspector panel and C# code, and how to use that to cull some objects on our cameras…
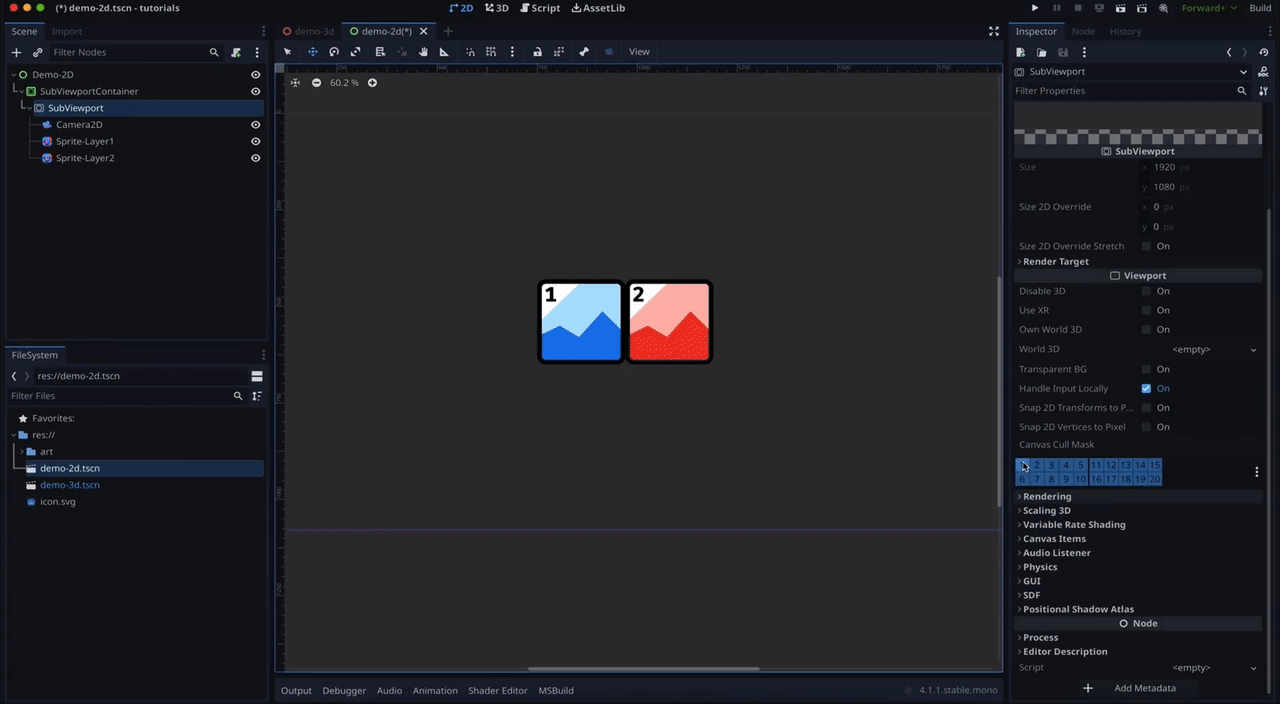
Important note: In this tutorial, we won’t talk about physics layers but only visibility layers. Although the two concepts sound the same, they’re different and they don’t have the same goal — and, today, we’ll focus on showing or hiding objects, thanks to visibility layers :)
As usual, since we’ll be coding our logic in C#, make sure that you have a version of Godot with .NET enabled.

And of course, don’t forget that you can get the demo scene and all the assets from this demo on my Github 🚀 with all my other Godot tutorials.
Also, the image, audio and 3D models assets are made by Kenney 🚀
The tutorial is also available as a video — text version is below:
But now, with all that said, let’s dive in and discover the basics of setting visibility layers for our nodes in Godot and C#!

